Instructions for the application of glass protector for a laptop
For better clarity, we bring a clear illustrative guide to correct application
of tempered glass on the laptop display.
We do everything to make the installation as comfortable as possible
and you can quickly and easily use the comfort and safety
of Tempered Glass Protector.

Package contents
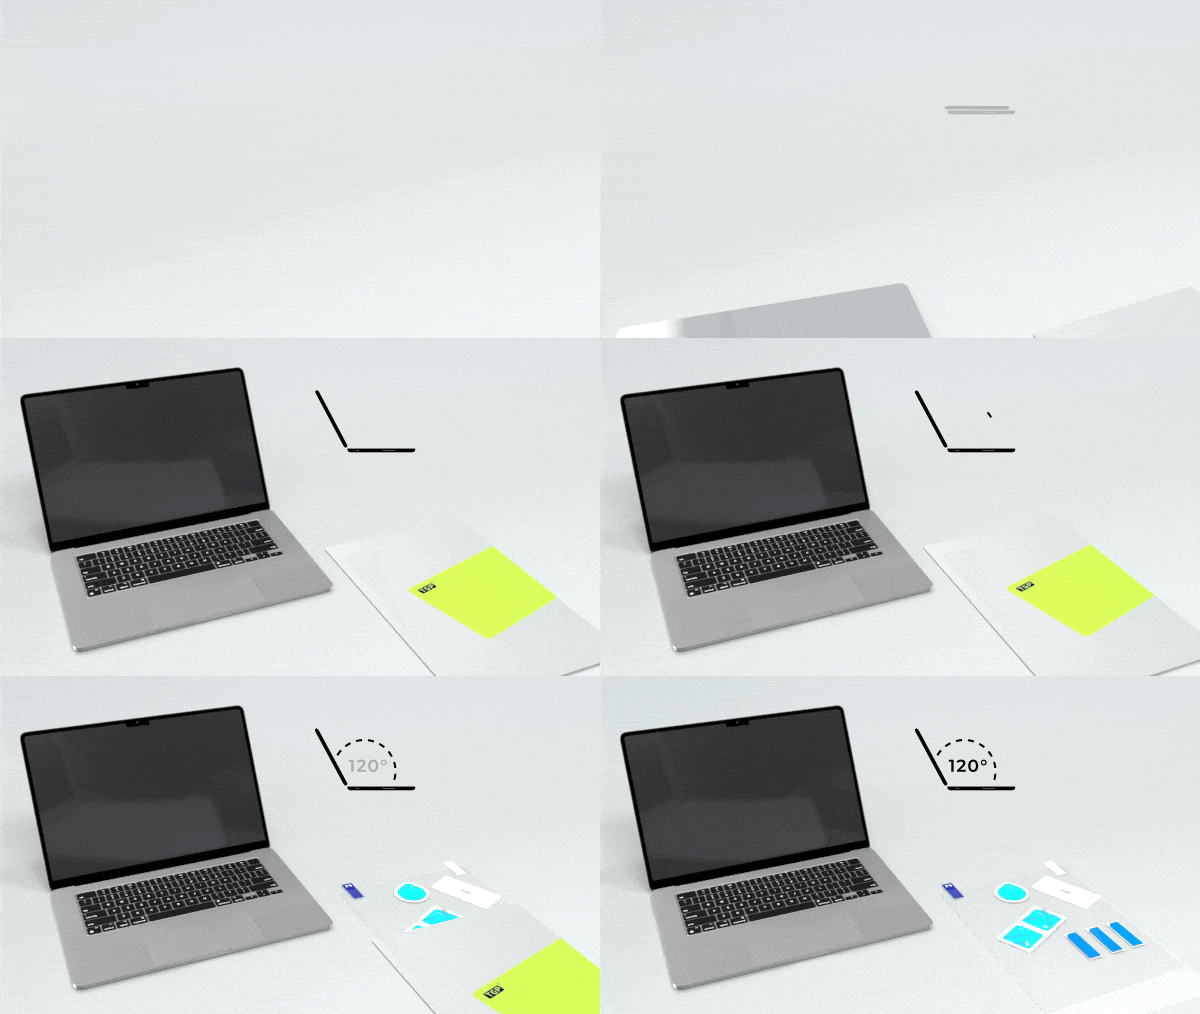
The Tempered Glass Protector package for the laptop contains a protective glass, a wet cleaning cloth, a dry cleaning cloth, a dust remover, guide stickers and air bubble squeegee.
For some models, the package may also include a special air bubble squeegee, or an installation frame.

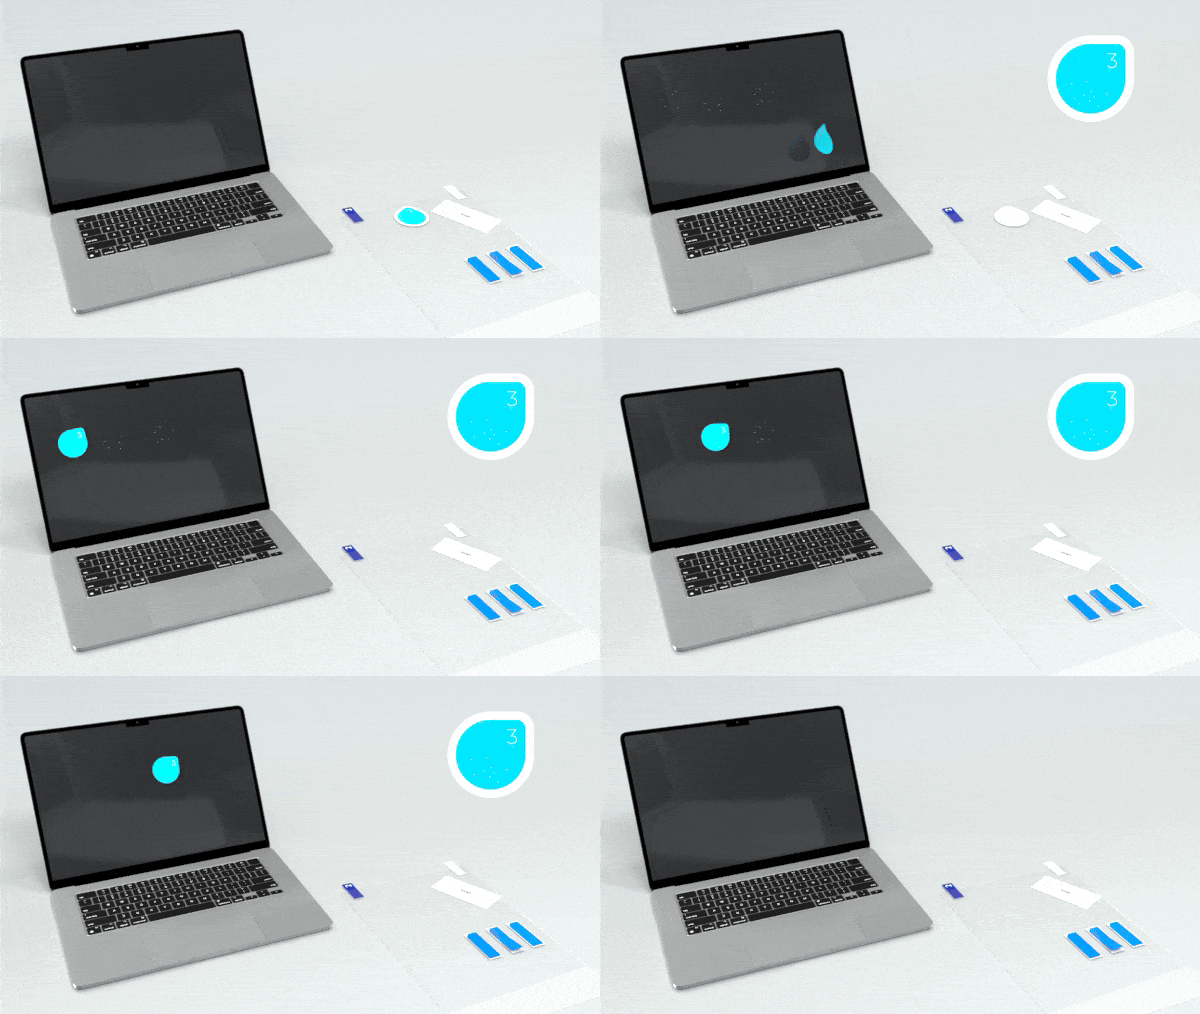
Clean your screen
It is very important to have a perfectly cleaned screen area. Remove smudges with a wet cloth, then wipe with a dry cloth until the surface is completely clean and dry.
Do not touch the screen after cleaning.

Dust removal
Dust or other small dirt is likely to get on the clean screen during installation. Use a dust remover to remove them.
To remove dust, do not pull sticker on the screen surface, but peel it off vertically from the surface.

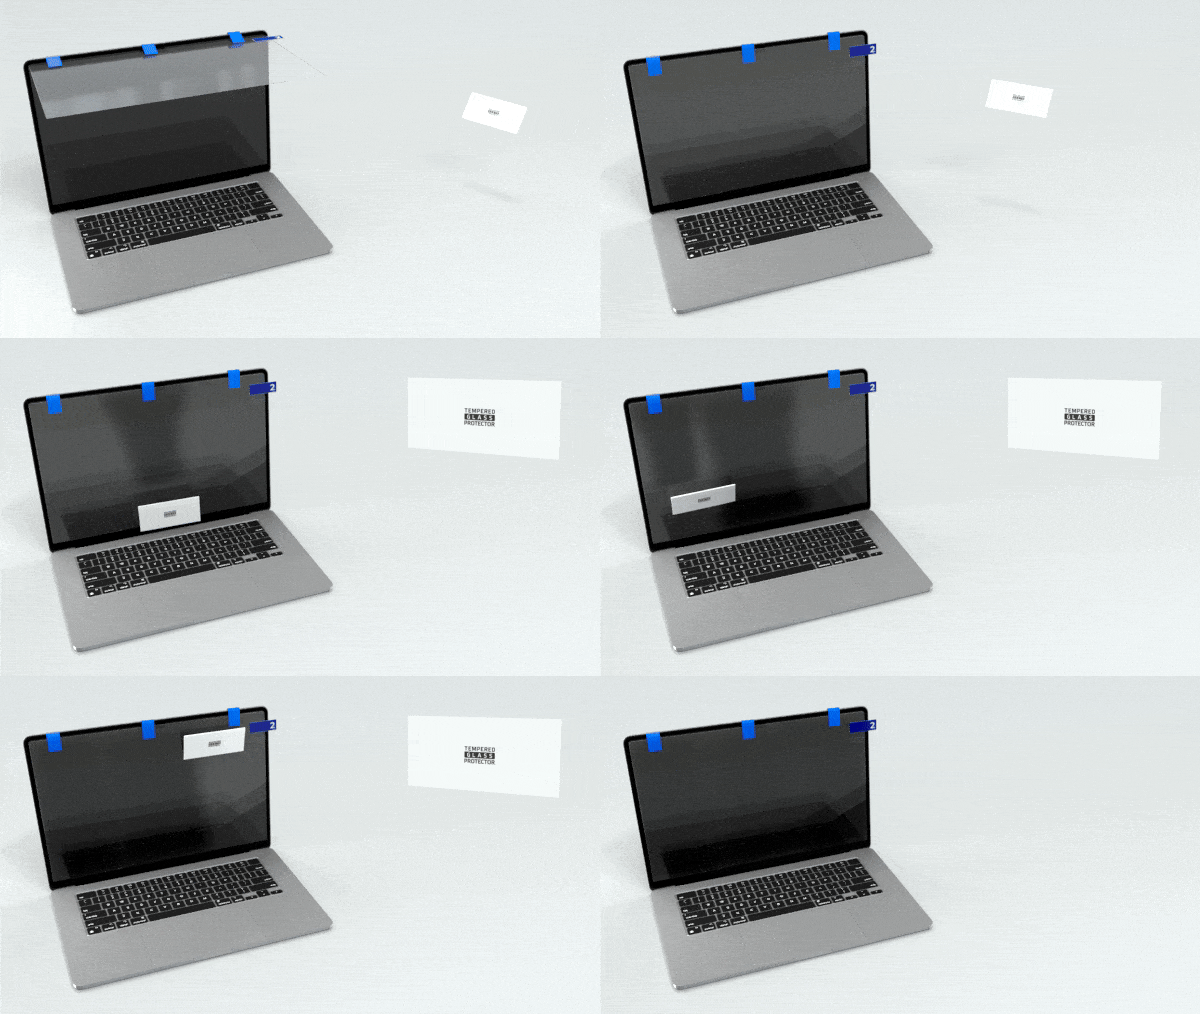
Fixing the glass with guide stickers
To align the glass to the laptop display, turn the display to a 90° angle and use the guide stickers that facilitate accurate placement of the glass on the display while still allowing manipulation of the glass.
Attaching the protective glass to the upper edge of the laptop display with buide stickers enables precise positioning of the glass, and preserves the ability to rotate the glass.

Removing the bottom protective film
Slowly remove the lower protective film when turning the glass to a horizontal position.
Remove the protective film out of the reach of your laptop display so that dust particles do not return to the screen. Use a dust remover if necessary.

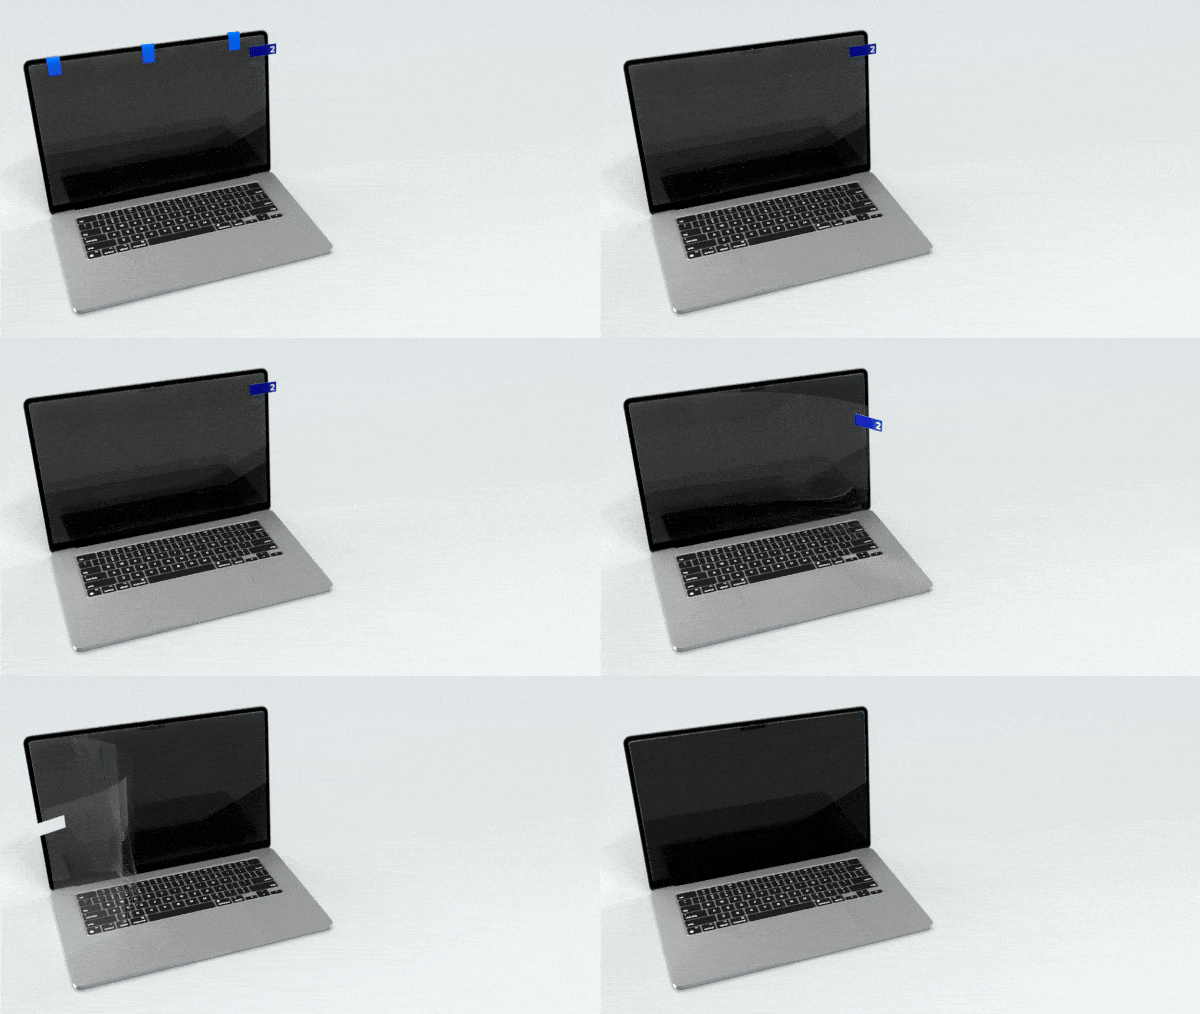
Finishing process
Slowly place the protective glass on the display. The glass starts to adhere to the display. If air bubbles appear, gently push them from the center towards the edges with the air bubble squeegee.
When gluing, do not touch the bottom adhesive layer.
For easier air bubbles removal, we recommend using a special air bubble squeegee.

Protective film removal
Peel off the guide stickers and slowly remove the protective film on the front of the laptop display.